稍微熟悉数据库的小伙伴们都知道,无论什么时候,不管是 SQL Server 、Oracle还是 MySQL 等数据库的安装和卸载都是一件令我们头疼的事情。当我们在使用数据库出现未知原因且无法处理的问题时,重新卸载和安装可能是一个不错的处理方案(如果是生产环境,还是建议想方设法查找问题原因,测试环境的话,可以根据需求进行卸载重新安装),但是如果数据库卸载不干净,就会导致数据库重装失败。所以学会如何卸载数据库还是很重要的,本篇文章以Window Server 2012操作系统为例,卸载 SQL Server 2012 版本的数据库,其他版本卸载方法也都大同小异。
如果有小伙伴需要SQL Server、Oracle、PostgreSQL数据库的安装教程,可以点击以下链接跳转查看数据库安装图文详解:
SQL Server 2014安装图文详解!
Windows 上安装 PostgreSQL图文教程
超级详细的Oracle安装图文详解!手把手教会您从下载到安装
Oracle 12c安装图文详解!内附安装包!
话不多说,一步步开始卸载!
一、停止 SQL Server 服务
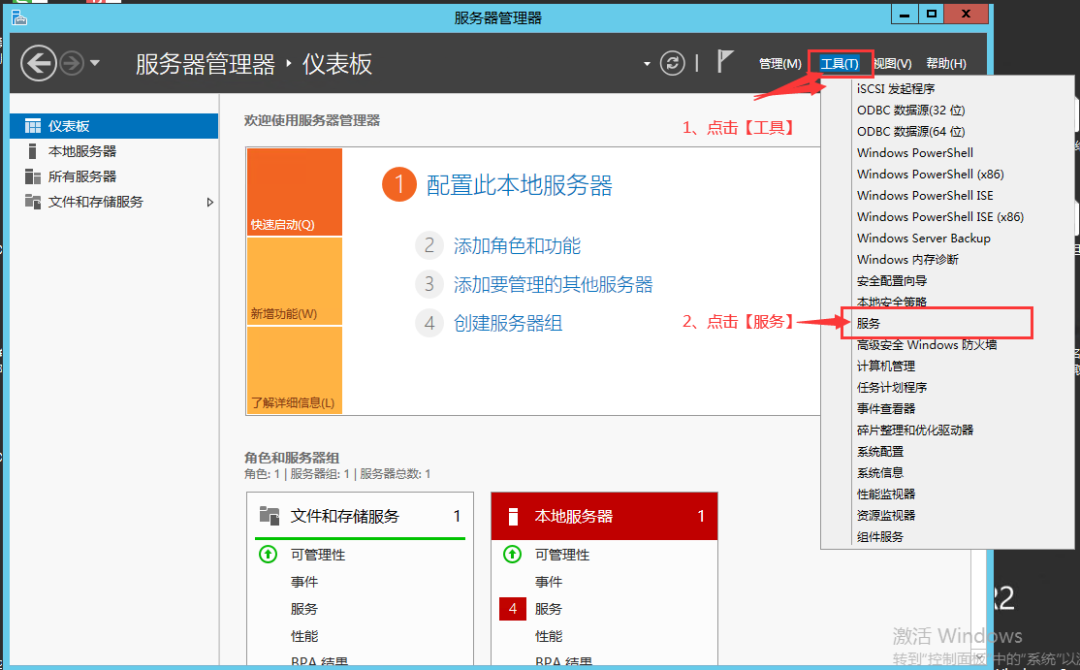
首先要把 SQL Server 的服务都关掉,通过 Windows Server最下面搜索框搜索 【服务器管理器】 并打开,点击【工具】——>【服务】(或者同时按住 Win + R 键,在弹出的运行框里面输入【services.msc】命令也可以进入到【服务】)

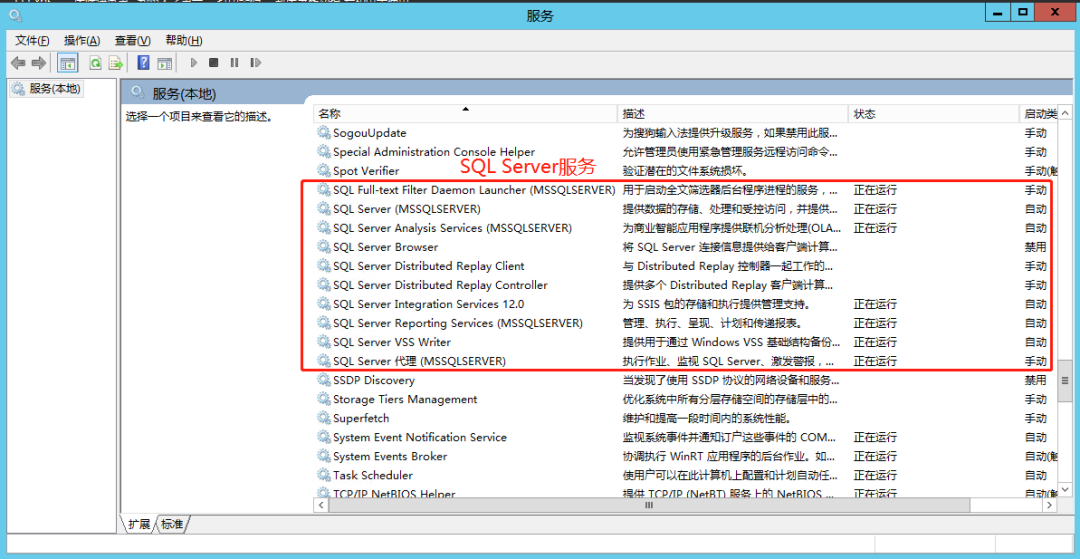
找到所有 SQL Server 的服务并全部停止 (不同的版本可能会有区别)
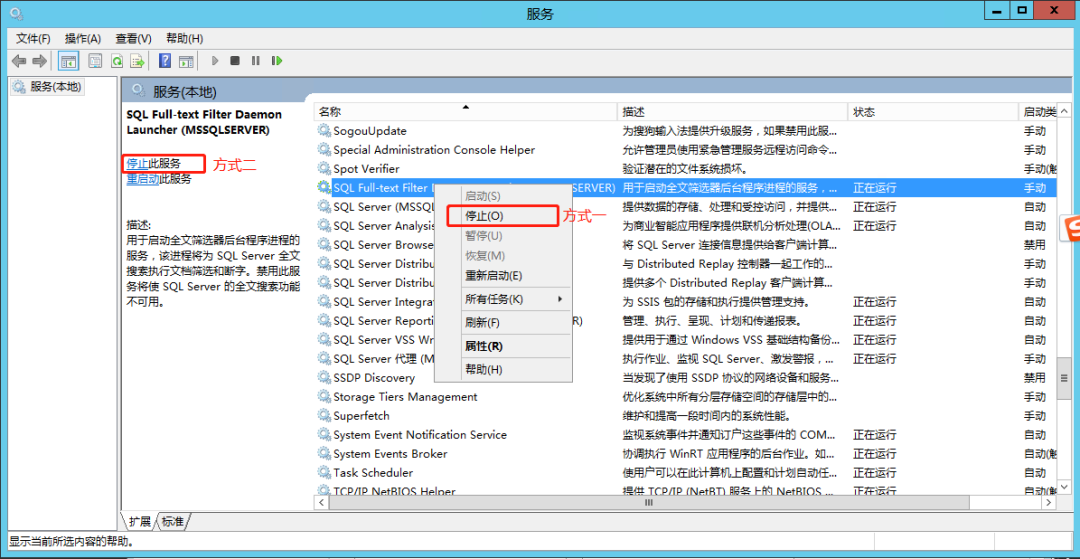
鼠标【右键】-【停止】或 直接点击左边的【停止】,两种方式任选一种停止服务就行(后面需要删除 SQL Server 的文件夹,如果删除不成功就是 SQL Server 的服务没关掉)
二、卸载 SQL Server 数据库
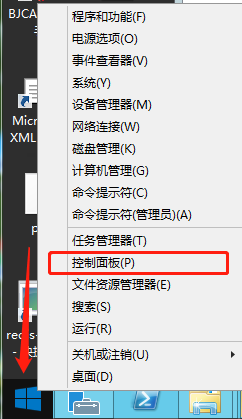
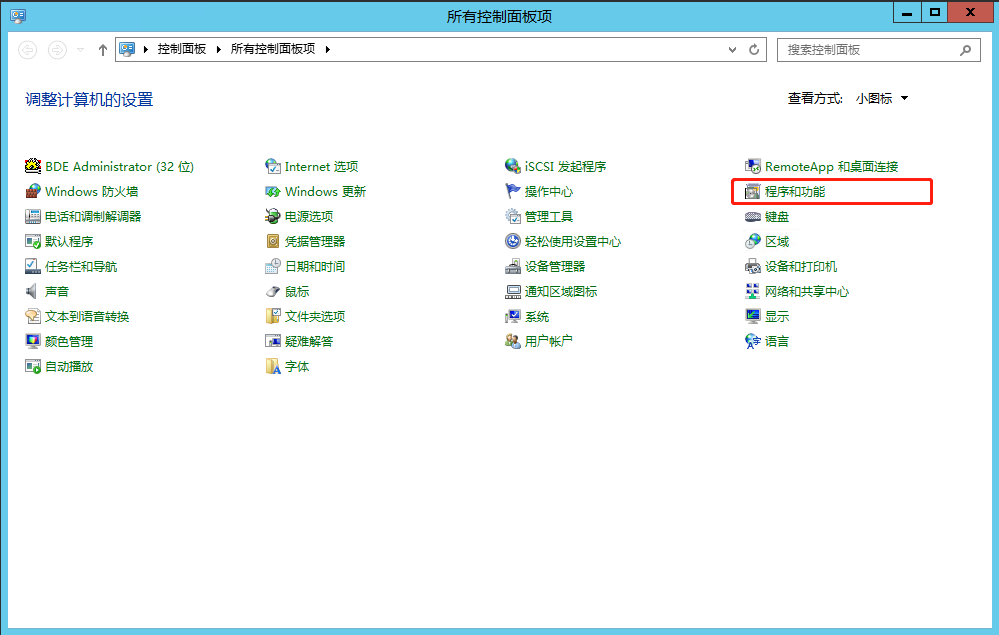
右键点击Window图标,打开控制面板(或直接搜索打开控制面板)
找到【程序和功能】,点击打开
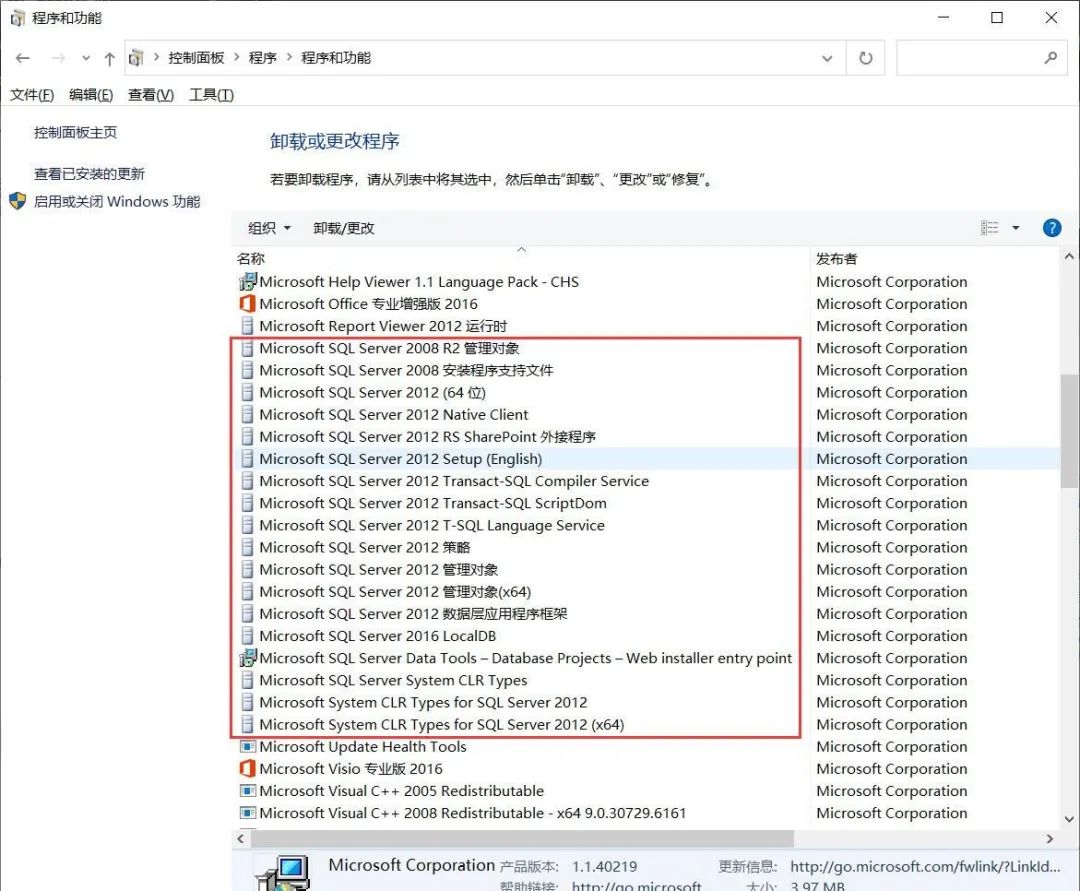
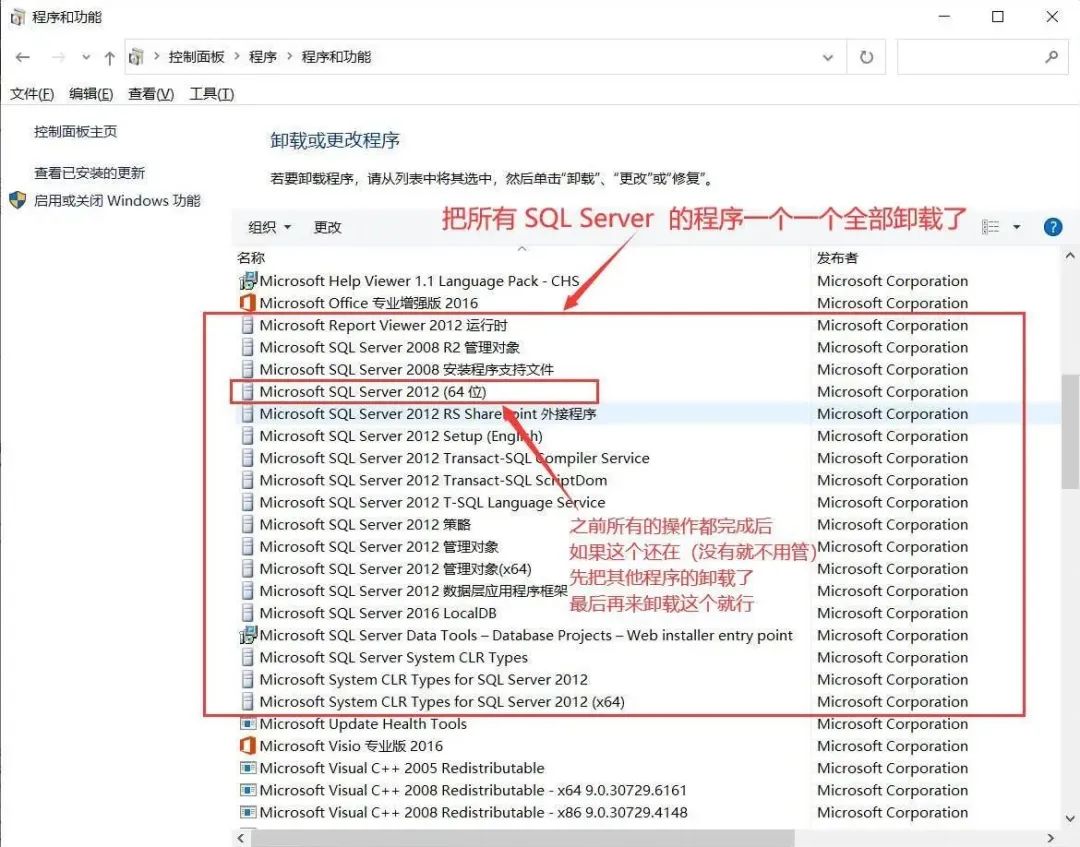
找到 SQL Server 相关的应用程序(不同的版本可能会有区别)
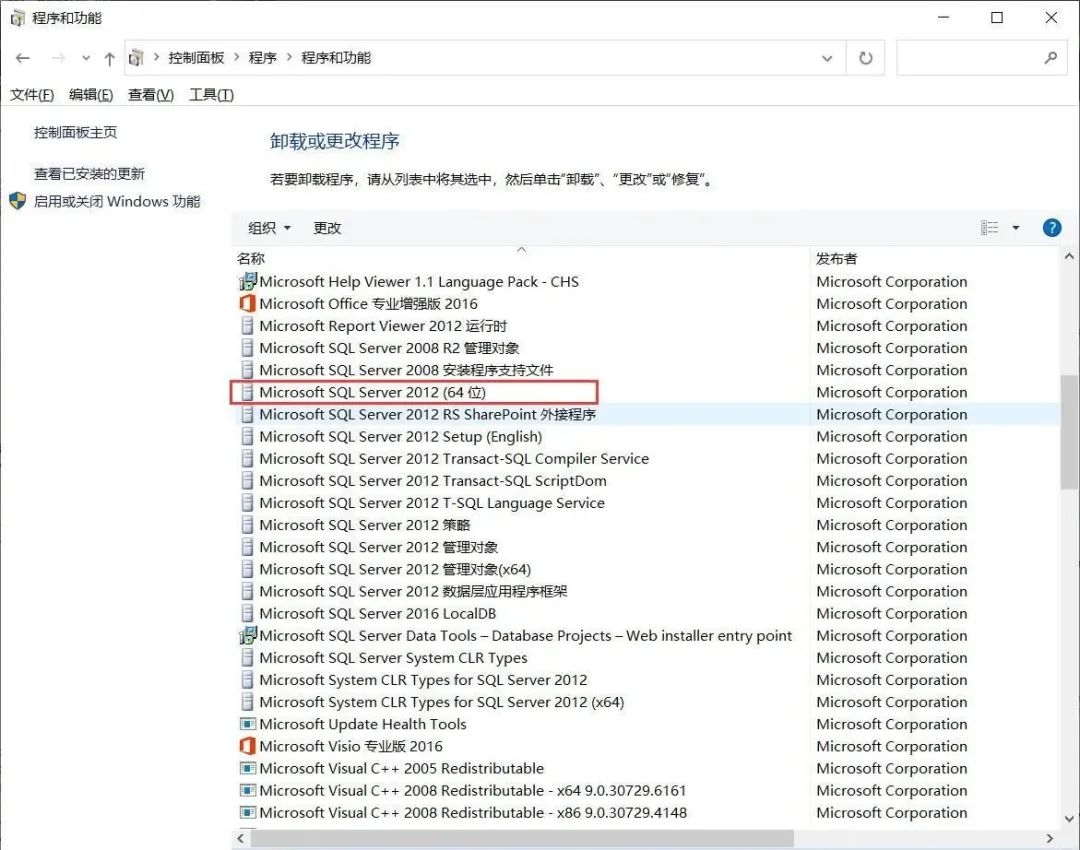
先找到 Microsoft SQL Server 2012(64-bit) 鼠标【右键】-【卸载/更改】(其他版本找到对应的 (64位) 程序,如:SQL Server 2019 就找 Microsoft SQL Server 2019(64-bit))
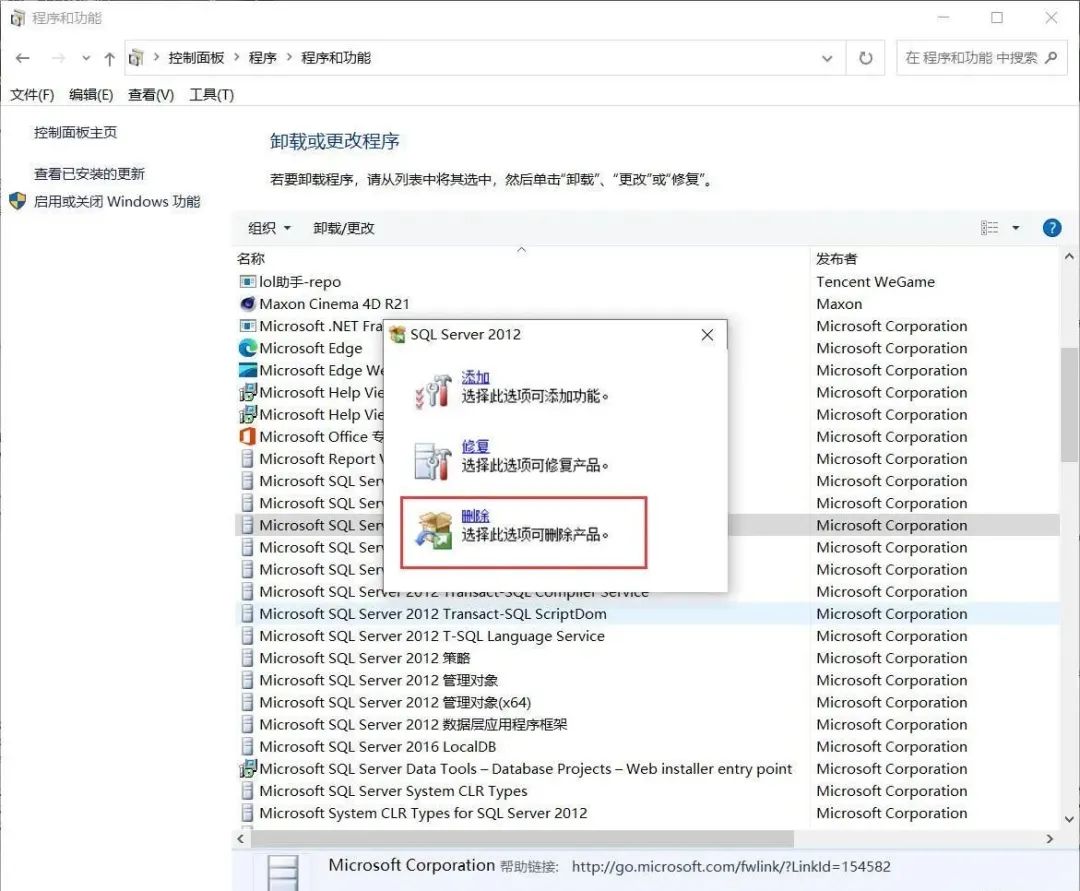
在弹出的程序框里选择【删除】
点击【确定】
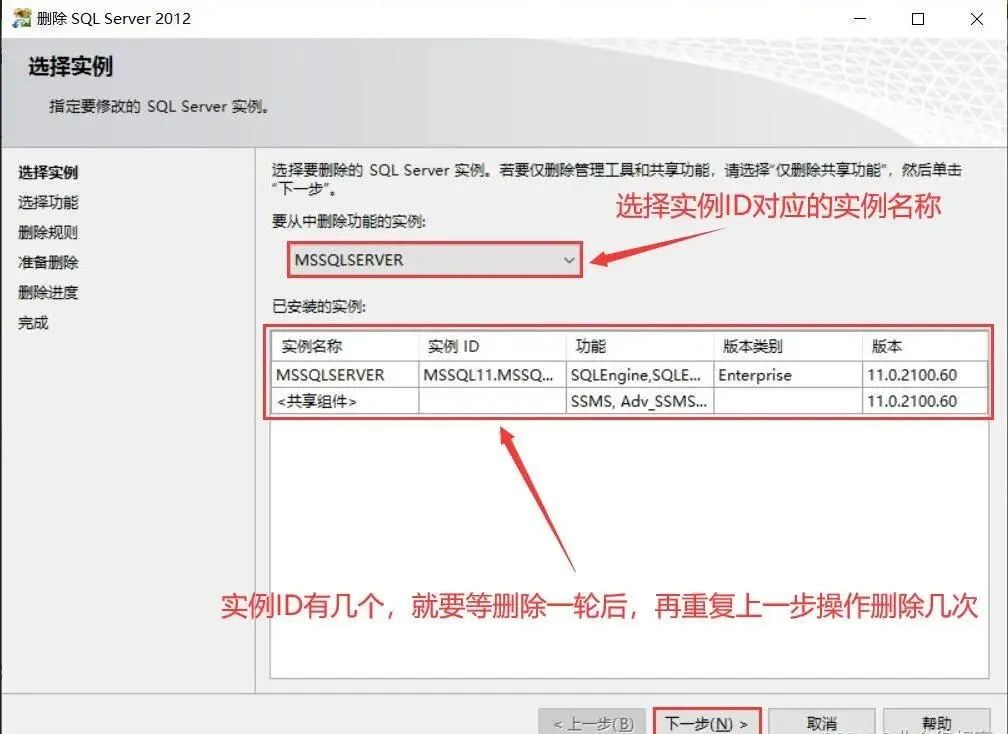
选择实例,点击【下一步】注:选择示例时,这里有多少个实例ID就删除多少次,如果有两个实例ID,删除完一轮后,需要重复一遍上一步的操作再回到这里再删除一遍,把实例一个一个全部删除!!!
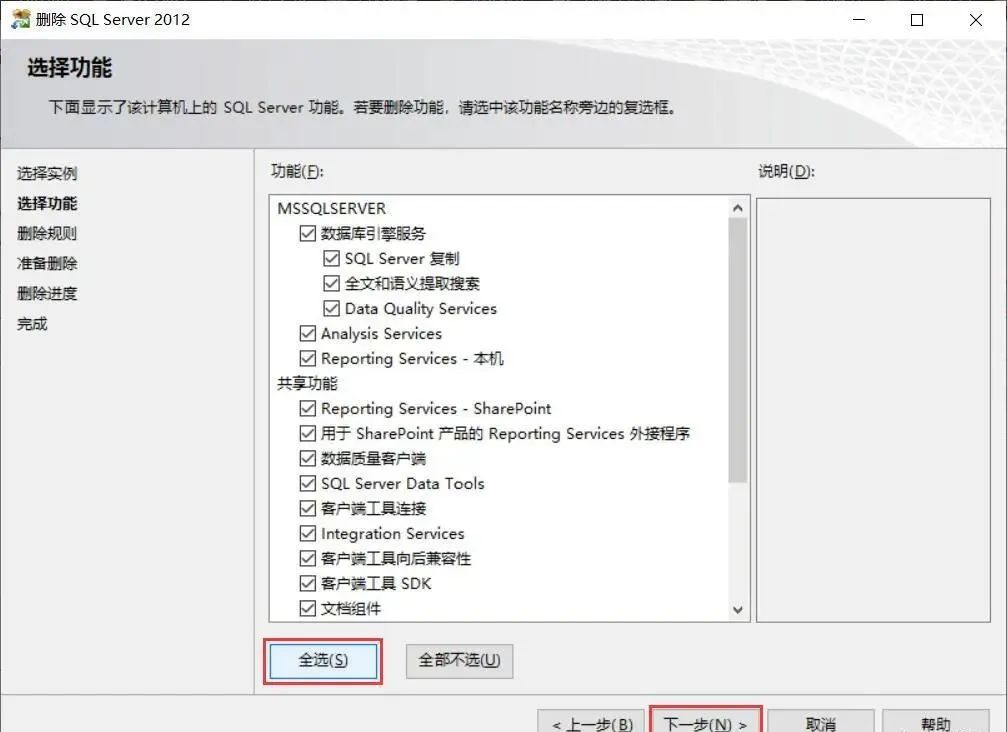
选择【全选】,然后点击【下一步】
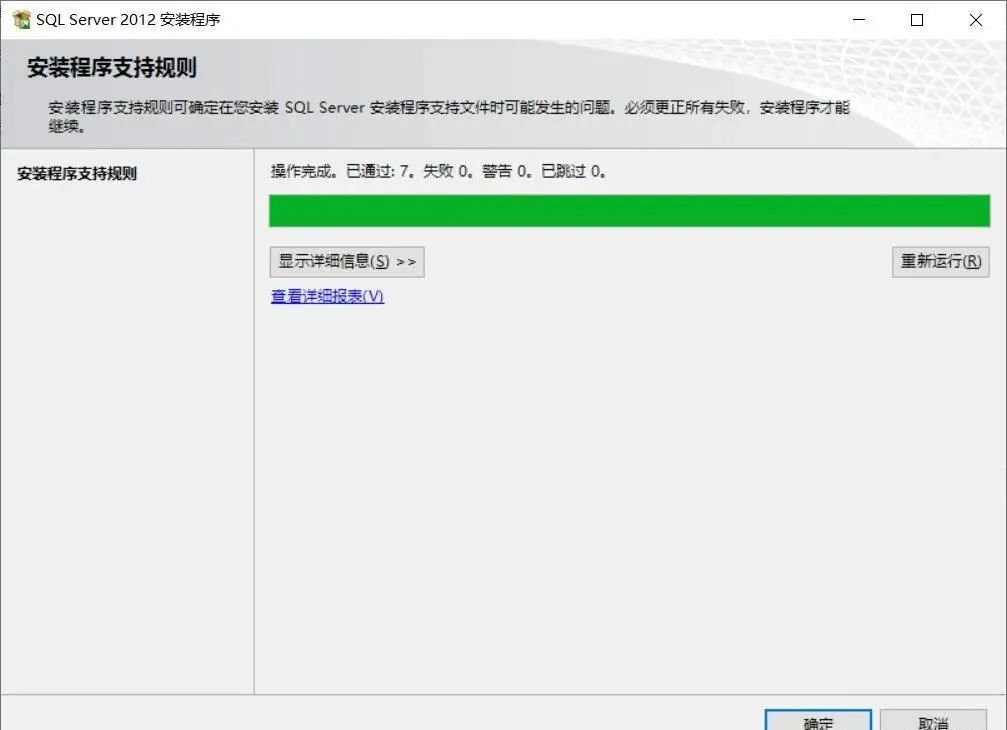
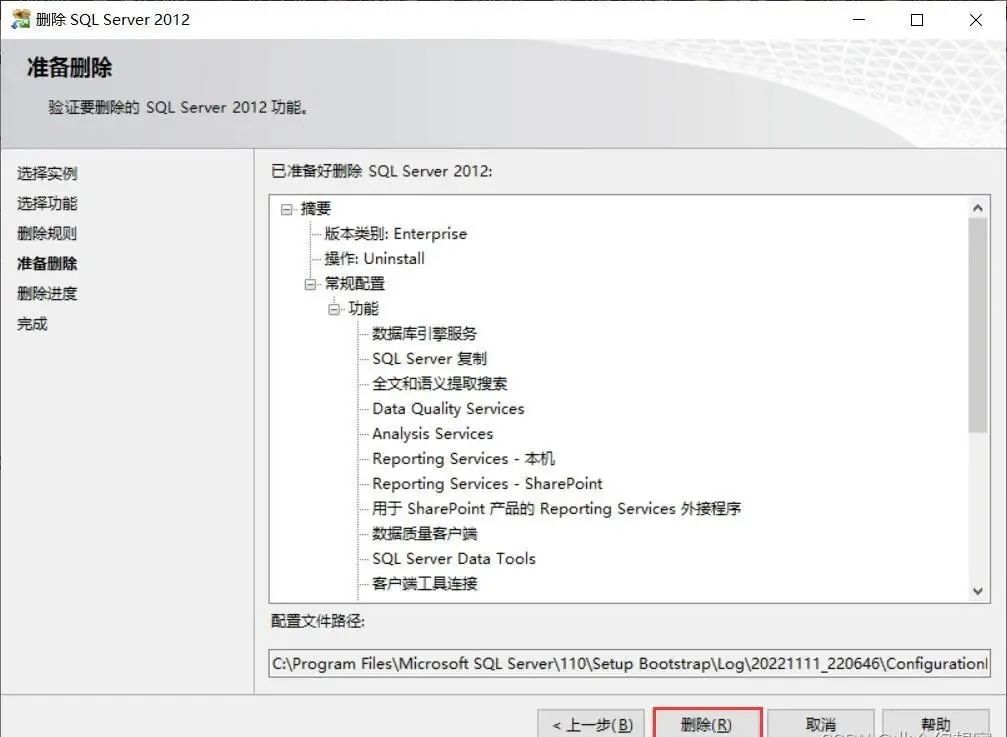
点击【下一步】
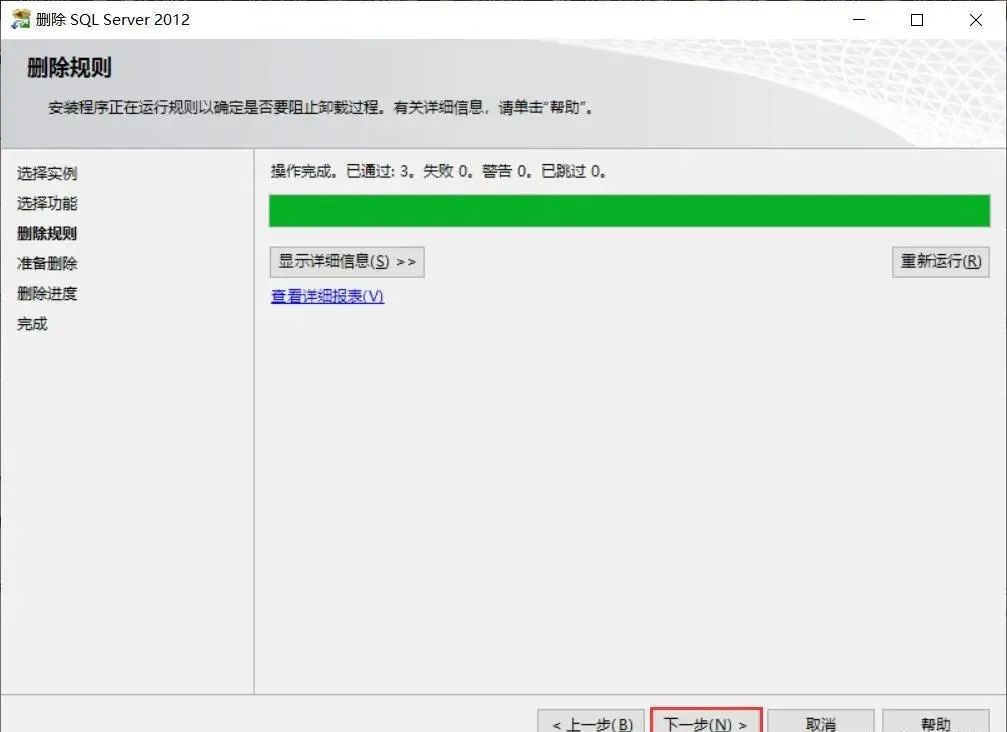
点击【删除】
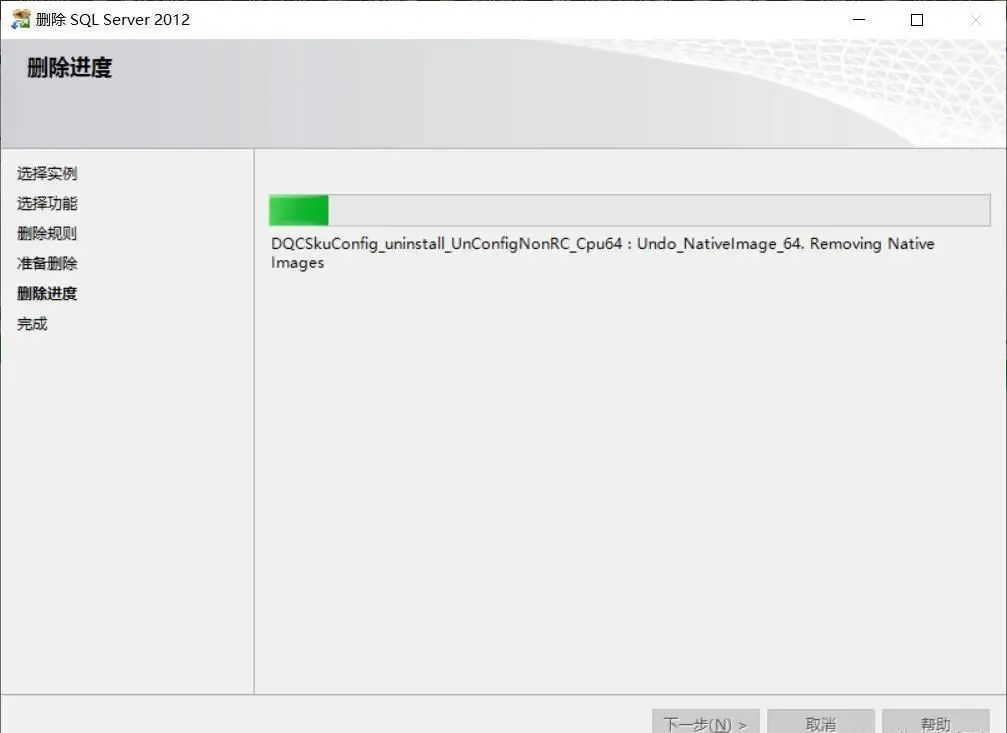
这里等它删除完
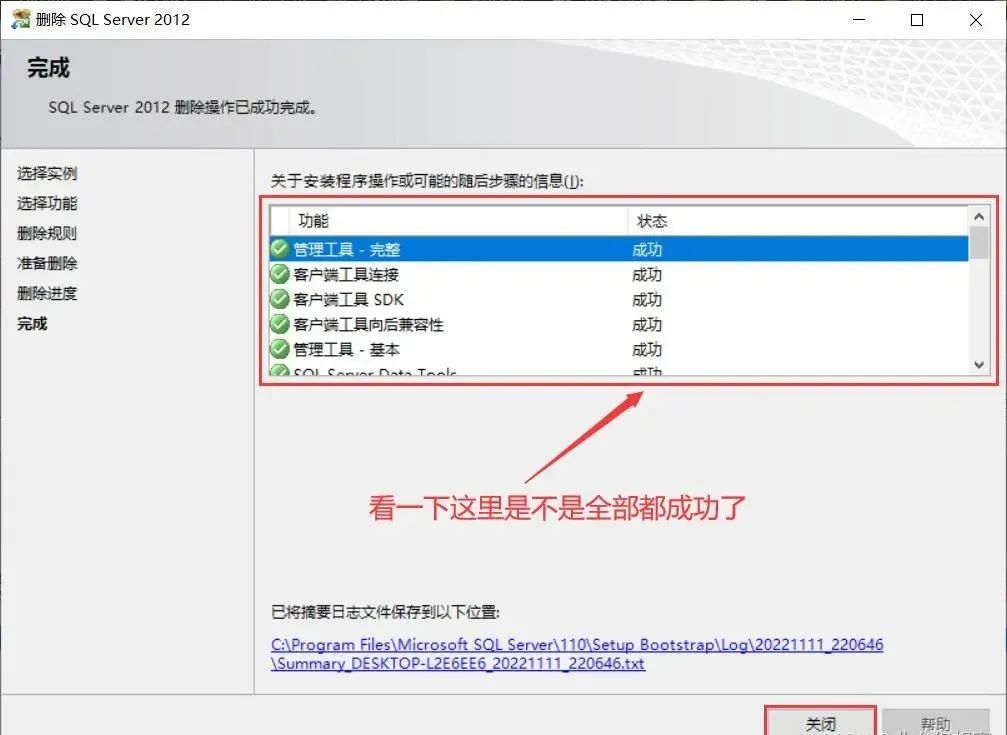
看一下状态是不是全部都【成功】了。如果全部都成功了,就直接点击【关闭】
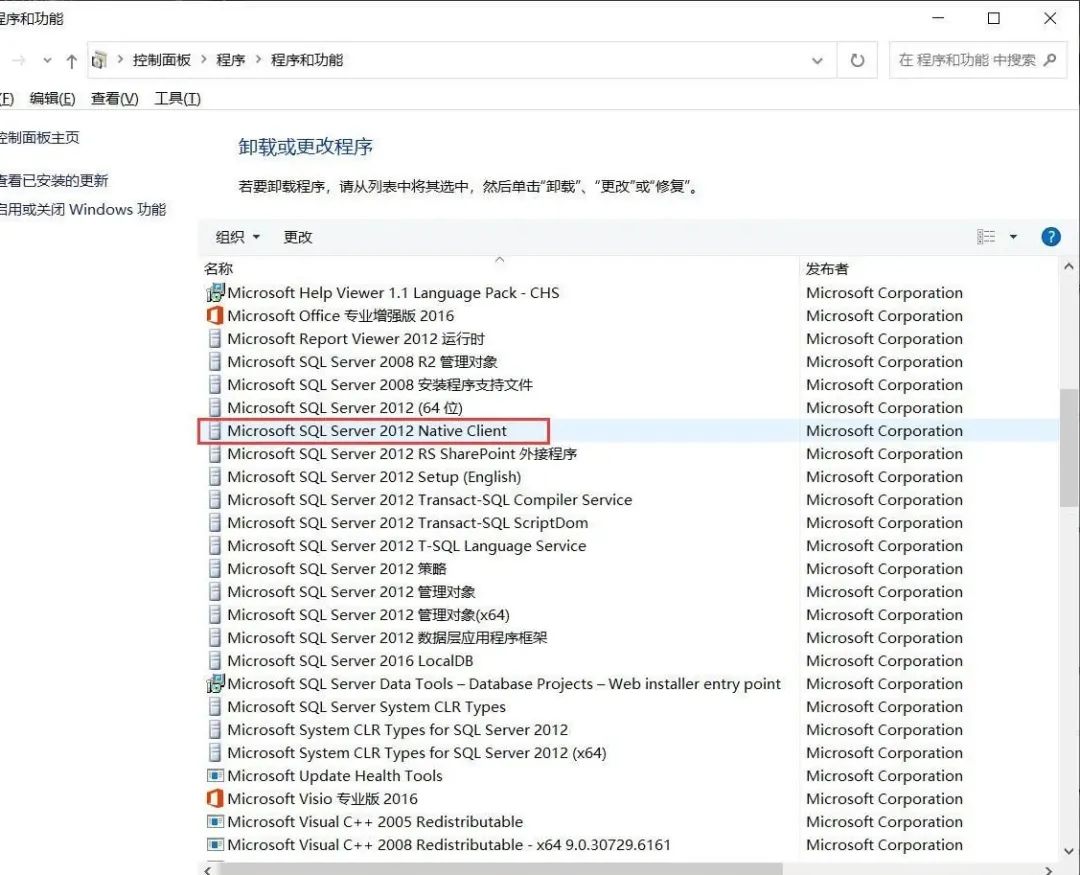
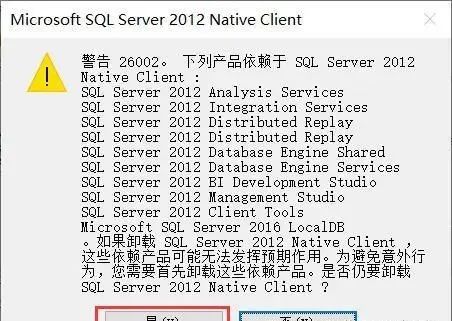
找到 Microsoft SQL Server 2012 Native Client 鼠标【右键】-【卸载】,在弹出的对话框中选择【是】(其他版本找对应的 Native Client 程序,如:SQL Server 2019 就找 Microsoft SQL Server 2019 Native Client)
这里会弹出一个警告信息,不用管,直接选择【是】就行
最后把其他 SQL Server 的程序全部都【卸载】了
注:一些版本的 SQL Server 如果还单独安装了 SQL Server Management Studio (SSMS) 管理工具,那么这个也要一起卸载掉

三、删除 SQL Server 相关文件
注:不同的版本可能会没有一些文件,没有的直接跳过就行
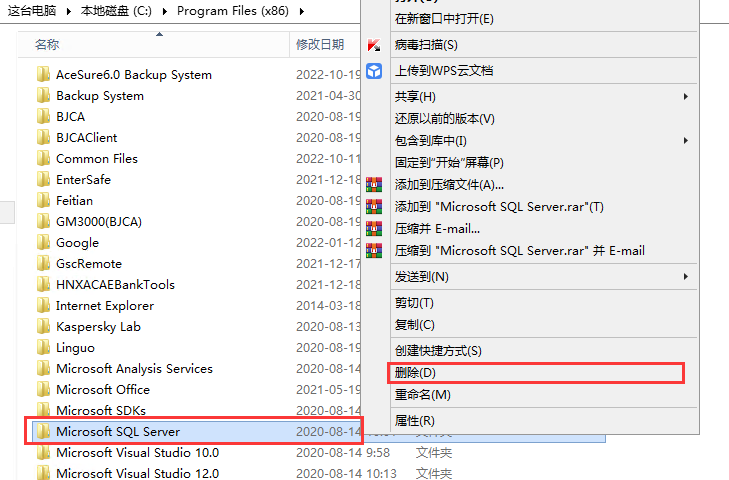
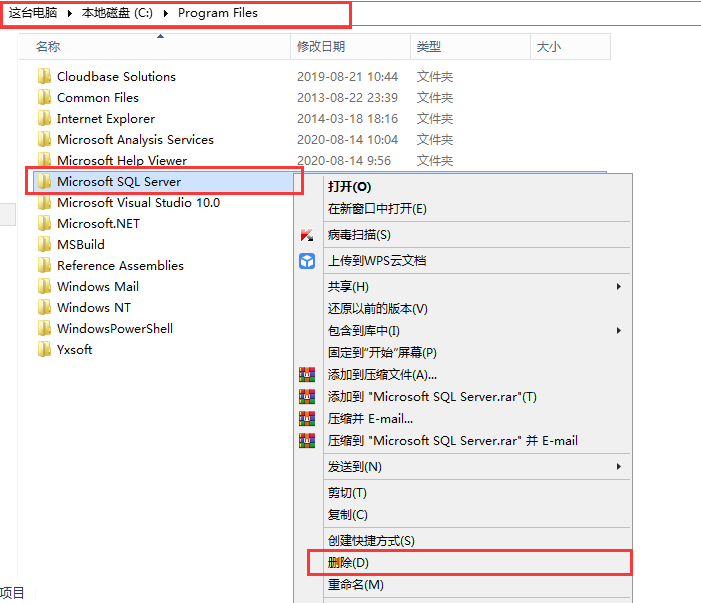
找到自己的之前安装 Microsoft SQL Server 的目录(默认安装的在 C 盘)鼠标【右键】-【删除】,然后进入C:\Program Files 文件夹下,找到 Microsoft SQL Server 文件夹 鼠标【右键】-【删除】
四、删除 SQL Server 相关注册表
直接在电脑左下角 Windows 【开始】图标上鼠标【右键】-【运行】(或者同时按住 Win + R 键),在弹出的运行框中输入【regedit】-【确定】打开【注册表】


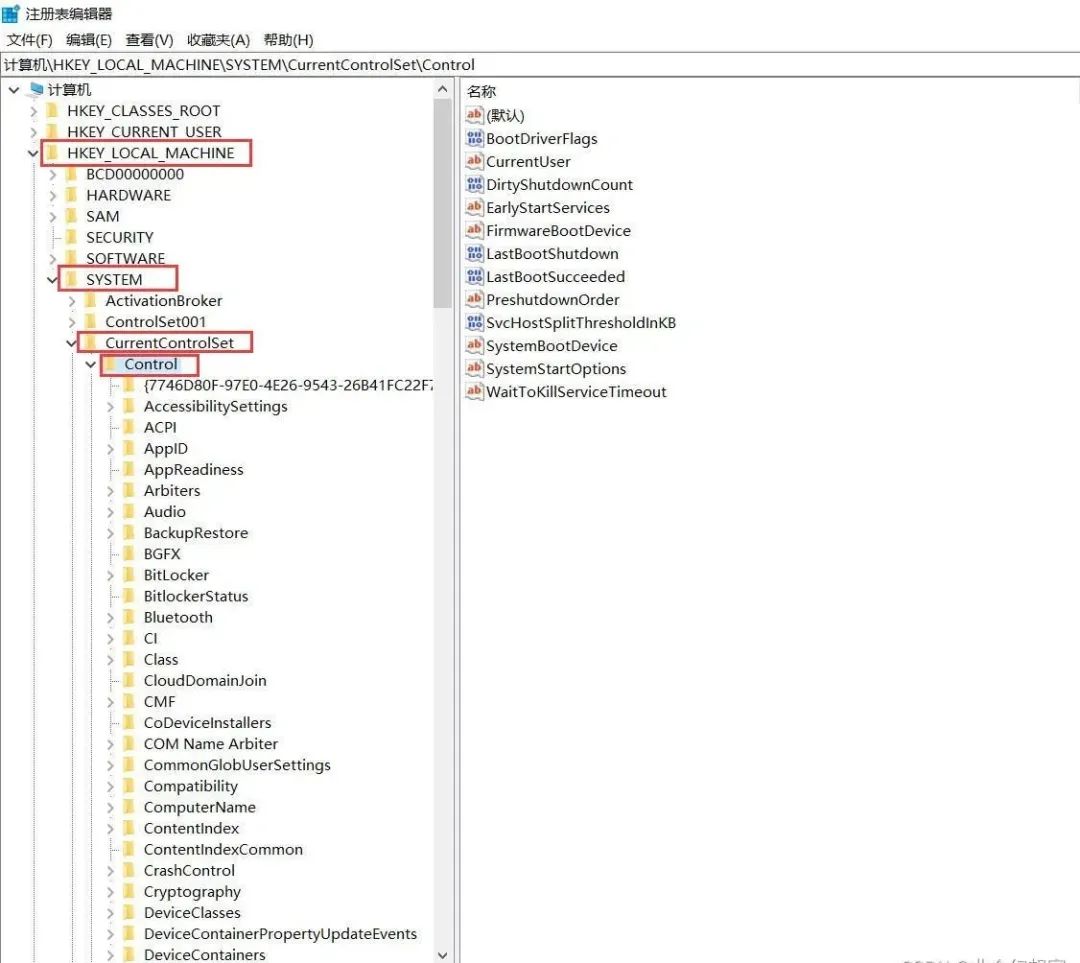
找到 HKEY_LOCAL_MACHINE \SYSTEM\CurrentControlSet\Control 并展开
在刚刚展开的列表里面找到 Session Manager ,在右边找到 PendingFileRenameOperations 鼠标【右键】-【删除】
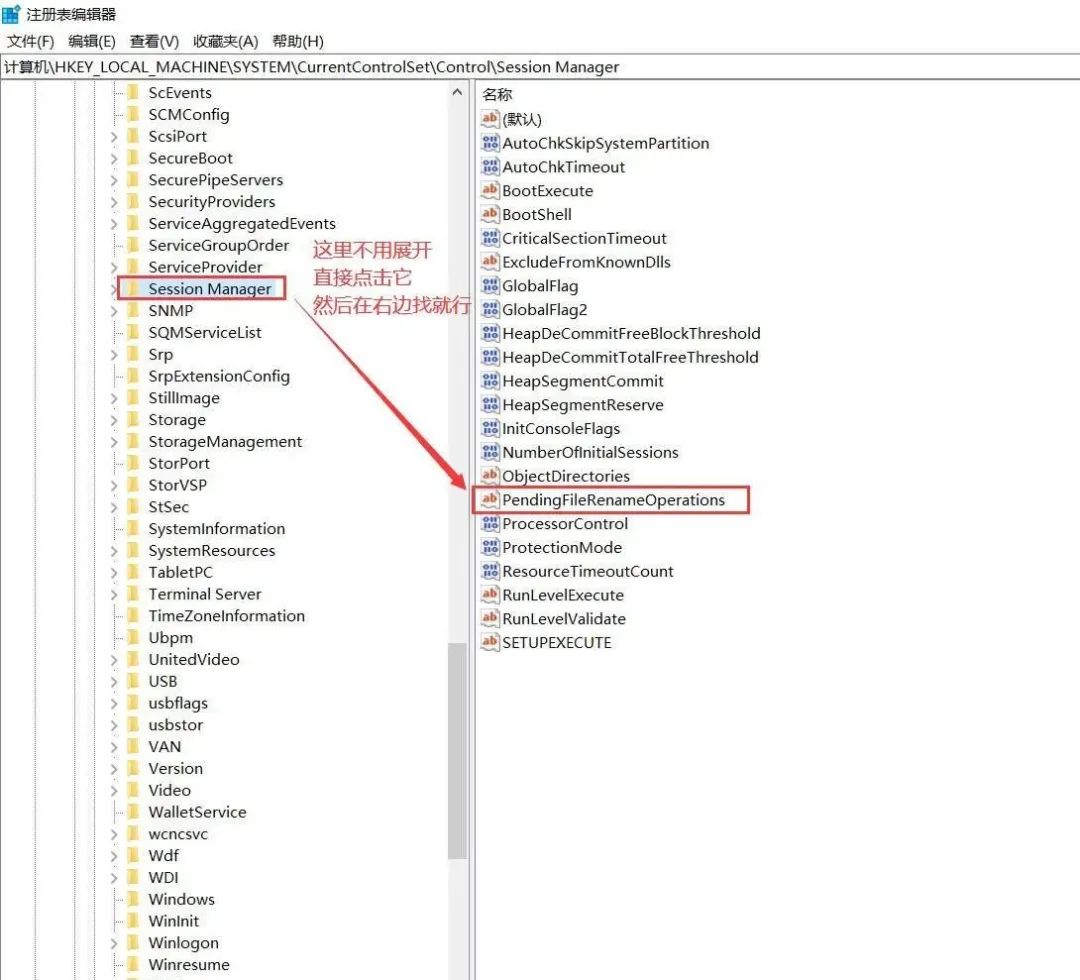
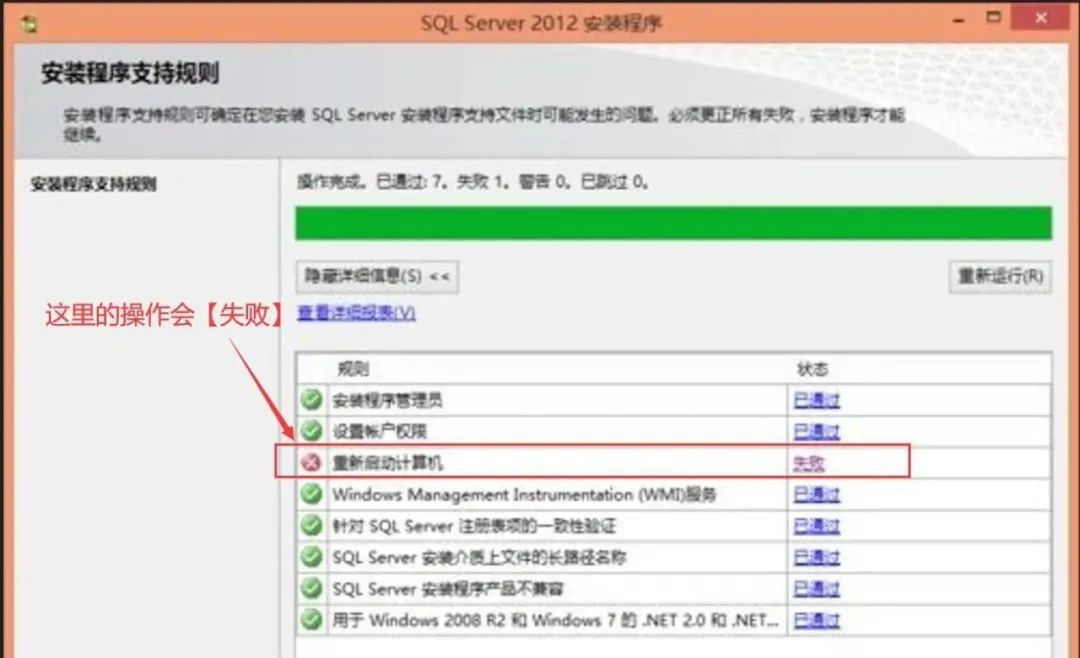
注:这个一定要删除,不然后面重装 SQL Server 的时候就会出现【重新启动计算机失败】示例如下:
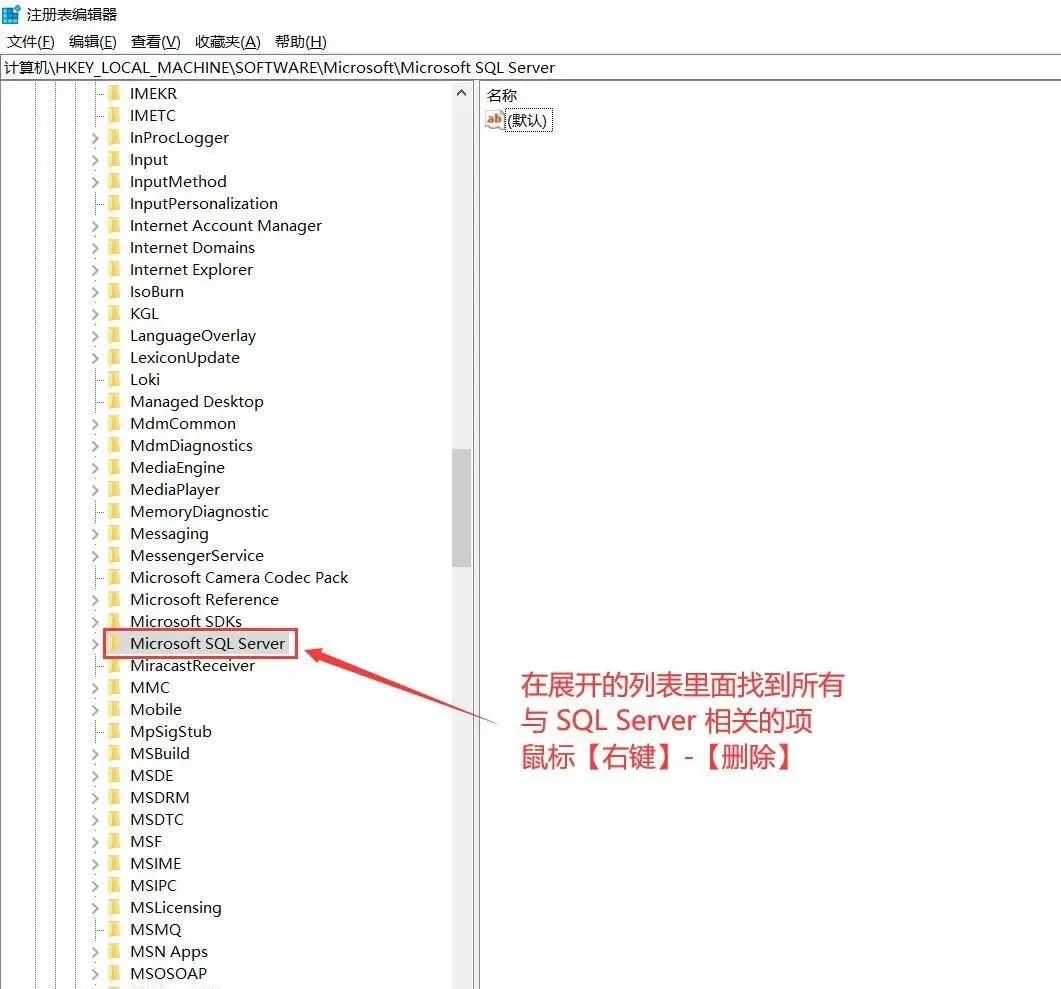
然后找到 HKEY_LOCAL_MACHINE \SOFTWARE\Microsoft 并展开
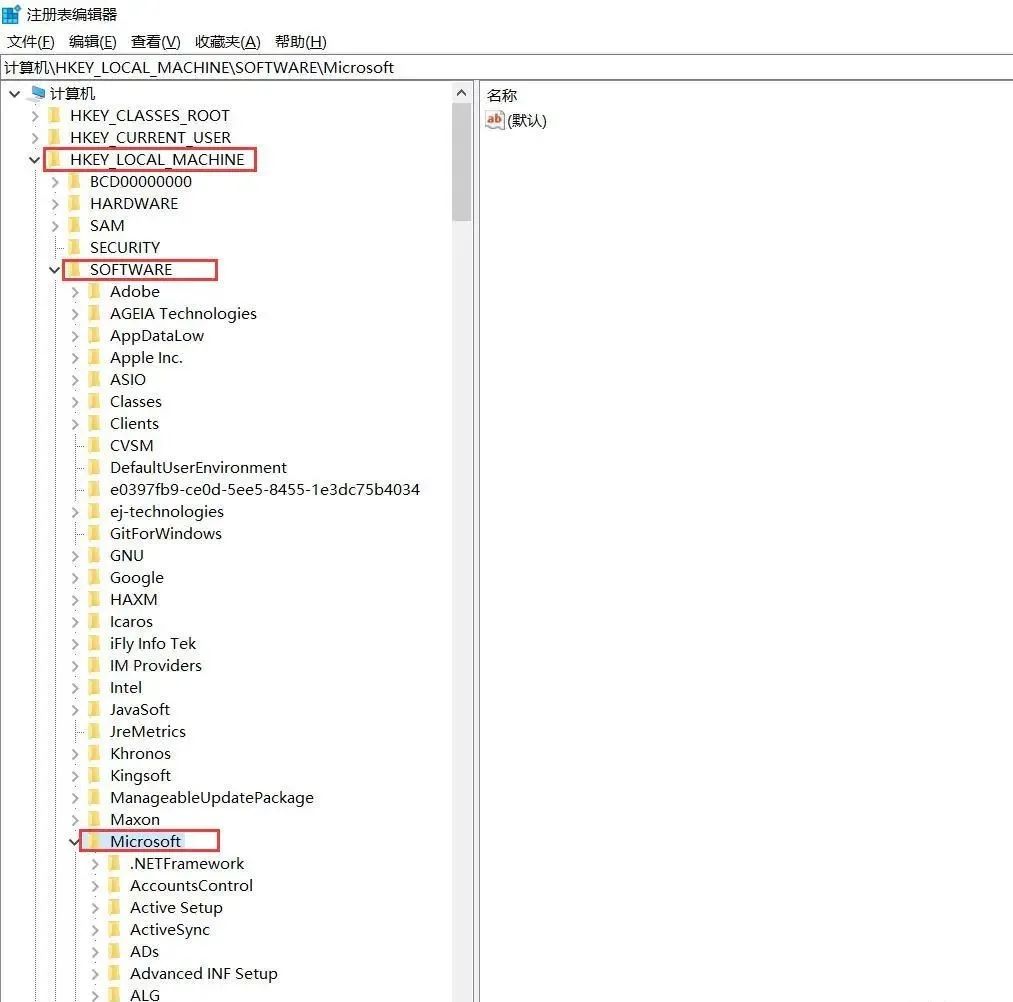
找到所有与 SQL Server 相关的项,鼠标【右键】-【删除】
注:每个人的可能会有不同,顺着列表看一下,只要是带有 SQL Server 的都要删除掉
然后按照相同的方法删除 HKEY_CURRENT_USER 下面的 SQL Server 相关的内容:
注:根据自己的电脑情况看,如果还有其他与 SQL Server 相关的项也要全部删除
HKEY_CURRENT_USER \SOFTWARE\Microsoft\ Microsoft SQL Server
HKEY_CURRENT_USER \SOFTWARE\Microsoft\ SQL Server Management Studio
五、重启电脑
操作完毕上面所有的步骤之后,记得,一定要重启电脑。
重启电脑完成后 SQL Server 就彻底从电脑上卸载干净了。
后面再重新安装 SQL Server 也不会有什么问题了。
预祝你卸载成功!
该文章在 2023/3/24 18:42:59 编辑过


 400 186 1886


